Friday, 29 May 2015

Tutorial: Fabric Midori (Travelers Notebook)

Hello again!

My new sewing machine and I have become inseparable over the last few days and today I want to share with you my latest project....


 A Fabric Midori Travelers Notebook cover...

This is another planner and holds my monthly calendar, weekly diary, diet/weight loss and fitness records and a journal booklet. You can find out more about the world of Midories from here

Its taken several attempts, and there are still things I would change, but I'm really pleased with it and wanted to do a little Tutorial for how I made it.

Step 1) Gather all your equipment;
I chose two bits of fabric that measures approx 8 3/4 inch x 10 3/4 inch, a fabric hole puncher, an eyelet press (and eyelets), elastic x 2 (one for pen loop and one for inserts and to fasten the midori) and a piece of lining fabric (interfacing would have been better here, but I didn't have any so I used two pieces of old thin fleece)


 Step 2) Lets get going;
 With wrong sides together, and the pen loop inserted into what would be the back of the midori, pin and sew around three sides (leave the bottom biggest edge open).

Step 3) Insert the lining;
Turn the right way out and insert the lining (if you are using interfacing, this would need to be done before you sew the pieces together wrong sides out)

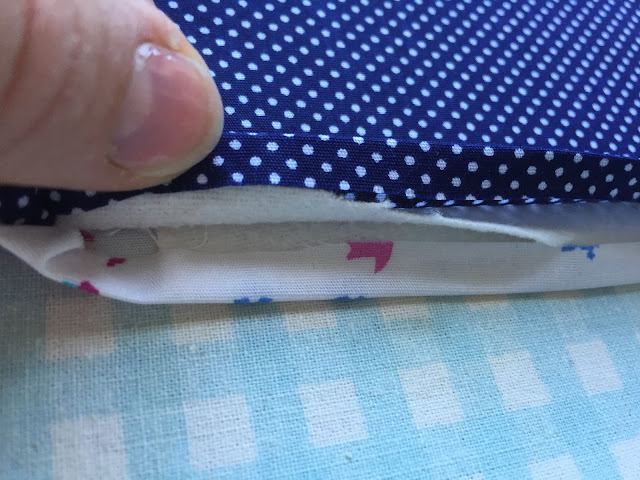
Step 4) Finish off the bottom
Fold over the bottom edges and iron flat, then sew alone this edge with a top stitch...


...continue this all the way around. You may want to do a second top stitch around too, but I didn't. Then iron it again...and again, and again!!


 Step 6) Practice makes perfect!
Next, I practiced using my eyelet hole and puncher on some scrap fabric to make sure I was happy with the result (make sure you practice with the same number of layers as you have on your midori - so for me, this was 4 layers)

Step 7)  Thread the elastic;
With the eyelets in place (two at the top, two at the bottom and one in the centre back for the elastic that holds it all together) thread your elastic and tie a knot for the midori booklets to slide into (you can see lots of Youtube videos for how to do this) and make a loop for the holding elastic.


 (The top picture here is from the inside and the bottom is from the outside)

Now all you have to do is fill it will your booklets and your done!
 (I have four booklets in mine)
And there you have it! Needs a bit of improving of course, but you can get the gist!
If you make one using this tutorial, I'd love to see it! And please be kind and tag me!

That's all for now. Until next time, you take care now x x

Wednesday, 27 May 2015

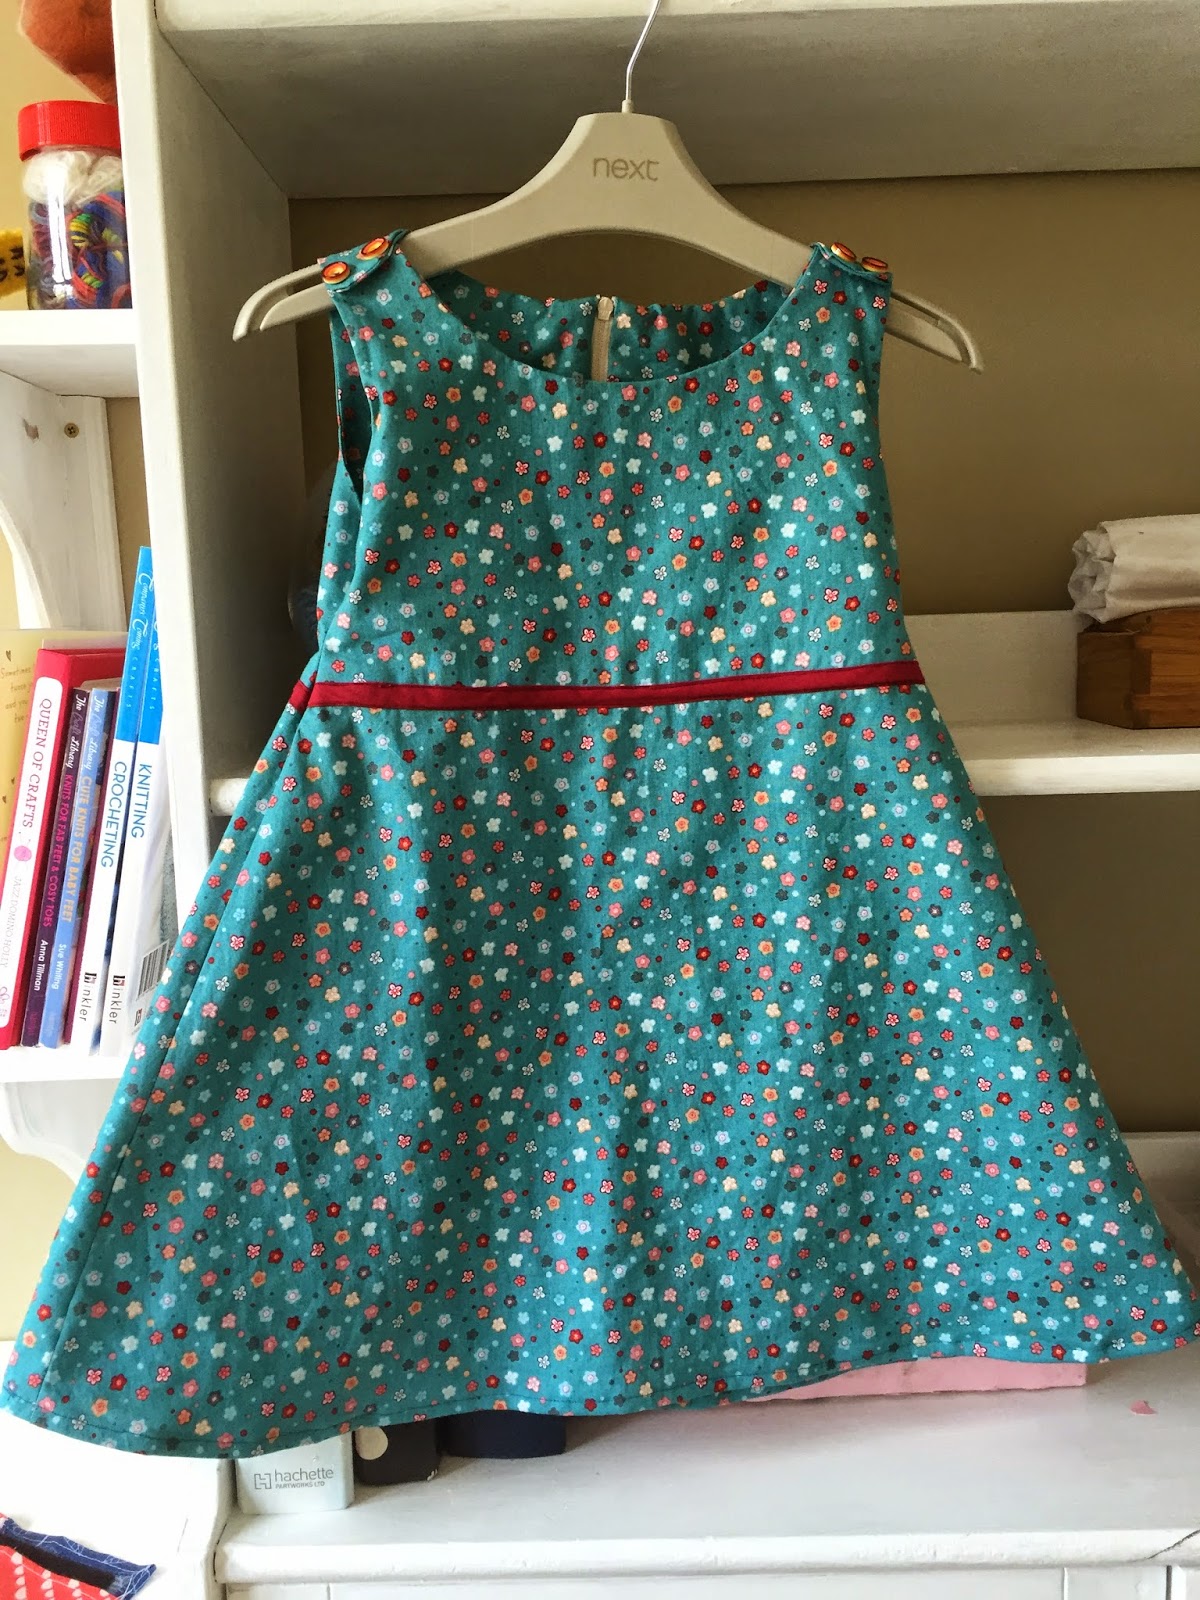
The First Dress


It was my birthday a few days ago and the lovely Hubs bought me a new sewing machine!
I was thrilled and couldn't wait to start making clothes.

Ive only ever dabbled in a little patch work here and there and so making clothes was something I really wanted to try. Especially as the Hubs and I have been such avid viewers of the Great British Sewing Bee.
Equipped with some Hobbycraft Vouchers, I went and purchased some new fabric. Unfortunately the HC nearest us is quite small and there wasn't the greatest of choice, however, of what choice there was I found myself pulled towards Teals and greens. So this is what I came home with, along with some Bias Binding, a couple of zips and some interfacing.


It was lovely to start working in my Sewing Room and I knew that the first thing I wanted to make was a dress for Little Miss....


With my trusty British Sewing Bee book, I set to work cutting out the pieces (after washing and ironing the fabric of course), and started sewing. I admit I had to read the instructions about a hundred times before any of them made sense, but slowly and surely...


...until quite late into the night.....


...a dress was made... :-D

and the best part??? It fits, and she loves it!.....


Its not perfect of course, but she loves it and I couldn't be happier about that!

This is definitely a pattern I will be using again!

That's all for now. Until next time, you take care now x

Saturday, 16 May 2015

My Planner: Retro Bloom


A funny and curious thing has happened to me over the last 2 or so weeks.
My brain has woken up.
I know that sounds silly, but it has. Its thanks to the diet and exercise I've been doing. I'm now 12 lbs down (woop!woop!) and going strong.
I've become the best version of myself and I have so much more energy than I ever have.

About two weeks ago I decided I needed to put all this energy into practical form and wanted to be more organised, as I was now remembering things better and planning things better. So I began to look into getting a planner of sorts.

Filofax: Retro Bloom (2014 range)

What I came across was a world of creativity and organisation on a cult level that I never knew existed!

I found groups (large groups) of people that not only love to plan/organise themselves but can be very creative during the process.
I quickly decided I wanted to get a Filofax that I could personalise and I haven't looked back!

I have spent time over the last week making my own inserts and have had so much fun getting back to my old scrap-booking/card-making/paper craft self!


I cannot tell you how much fun I had creating this! And I can honestly say, I've never been more organised!
I now carry this around with me everywhere and have found it so useful to have and keep things jotted down and kept up to date.

The world of Planners I have walked into is huge, literally, HUGE! and its led me to look at others types of planners and organisers and journals....this especially has caught my eye lately...

a Midori-style notebook by Teddi of Teddiconfetti.com


It is a "Travelers Notebook" Styled planner called a Midori (as I have now discovered) with removable/replaceable booklets. Its unbelievably cute and looks addictive to keep adding to (...Although that might just be me!)

You can find this and others like it from Teddiconfetti.com
Teddi is a ridiculously talented lady who makes these adorable covers for Midori notebooks. Every one is very limited and so they get snapped up extremely quickly by all accounts!

I thought this might be a nice way of keeping a Journal in a separate note book too!.....Definitely something to keep an eye on - especially as this particular one isn't available yet!

Thats all for now. Until next time, you take care now x x


Monday, 20 April 2015

The Story of a Jumper : WIP


A long, long time ago I was reading a lovely blog and came across this picture....

With permission from Nicola at Frontierdreams.blogspot.co.uk
The sight of this jumper did something quite strange to me; it made me wildly excited and happy!

After getting some info about the jumper from Nicola, I found out that it was manufactured and not home made...but that was ok, as I wanted to recreate it anyway for Little Miss....One day.

This has been at the back of my mind for some time and I kept thinking "I will make that some time".

The the other day, I found myself at a bit of a loose end and wanted to start something new.
Now, Hubs and I have just started a new diet/fitness regime and I'm feeling really positive about it (Ive already lost 5lbs !!) So I wanted to make an item of clothing for me to wear when I'm a bit smaller....Something to motivate me, if you like,

So I went searching though Ravelry for a Jumper/pullover pattern that I could adapt to fit these stripes.

I found this...

From Ravelry: Hodded Pullover by Julie Farmer


Simple and easily constructed, and suitable for DK yarn.
And so it started....


This is just the front and front pocket so far. It is difficult to get a real sense of the colours...they really are lovely and not quite as "in your face" as they seem here!
I think I might omit the hood and change the neck edge to a yoke or similar...I haven't decided yet.

I will keep you posted on the progress of my "motivation jumper"!

Thats all for now. Until next time, you take care now x


Monday, 6 April 2015

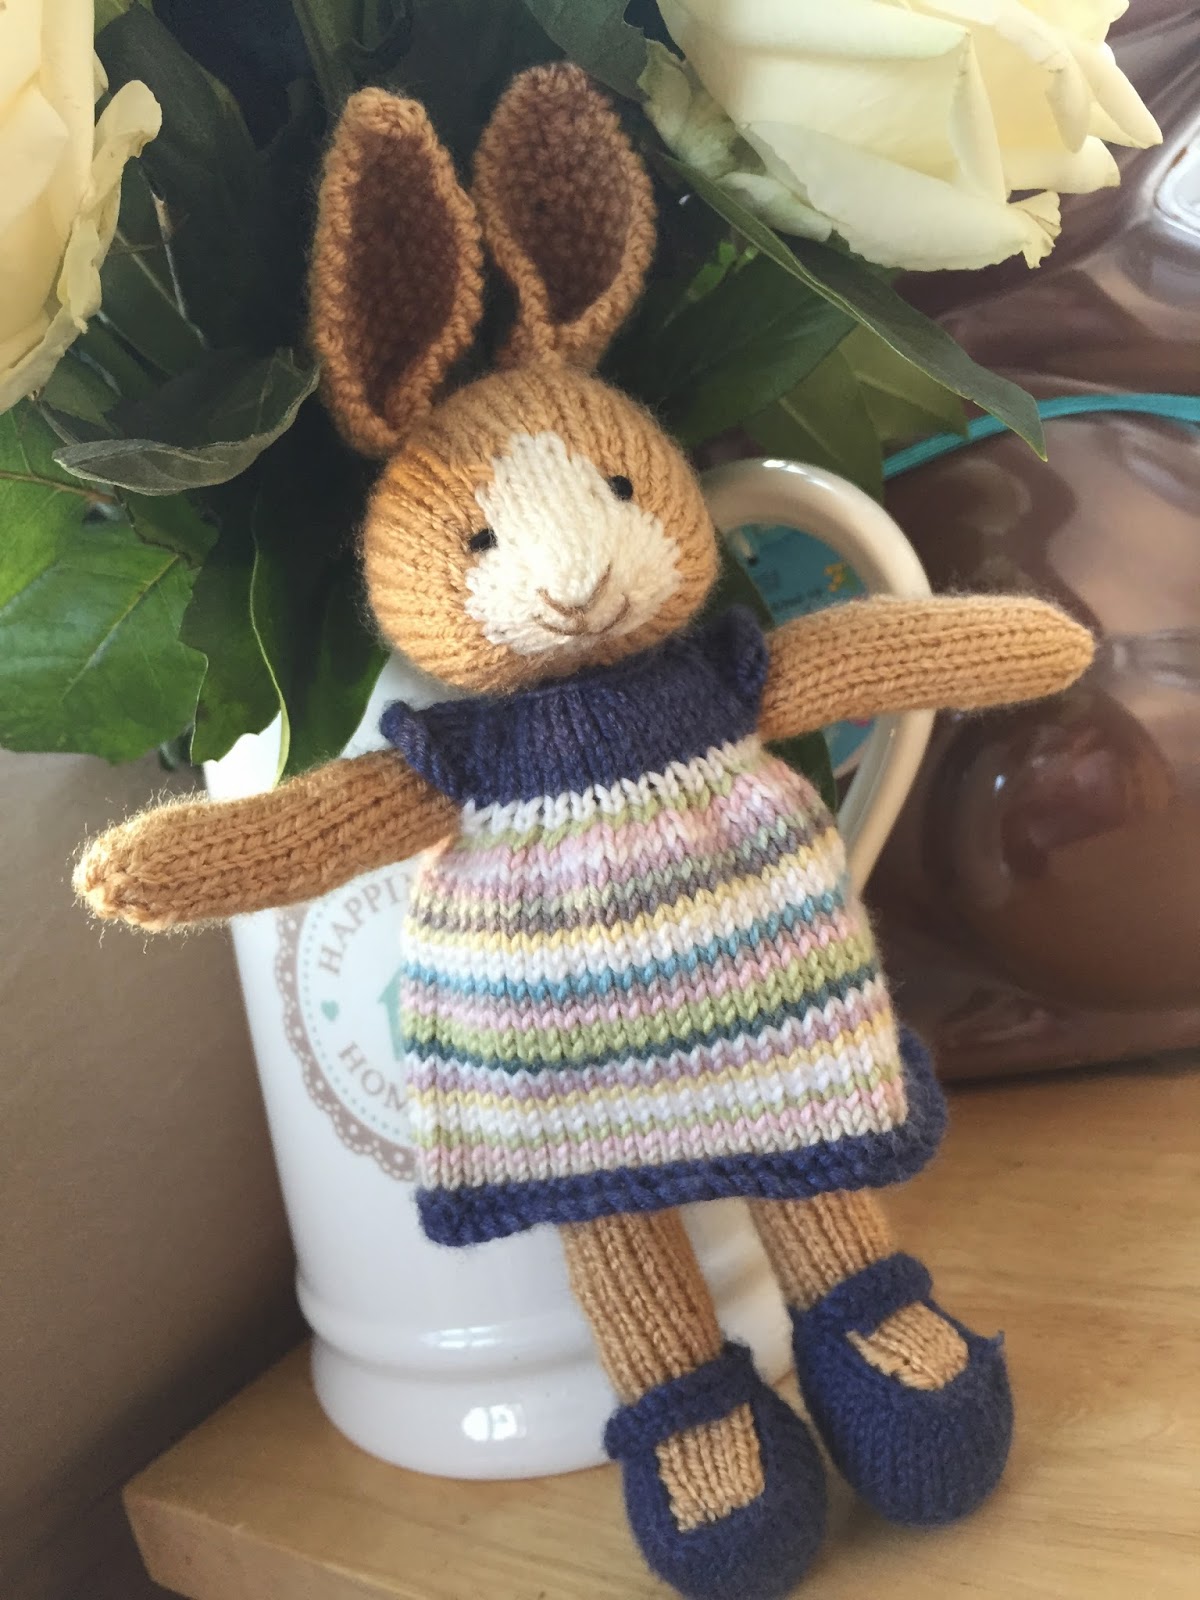
An Easter Bunny


Happy Easter!

Ok...actually, Happy Bank Holiday Monday After Easter....!

So I'm a day late, but this little one was actually finished yesterday.

I decided, quite late in the day to do a bit of knitting...my first in a few weeks actually....and wanted something Easter/Spring themed. So I raided my box of Little Cotton Rabbit bits and found a little lady bunny only half finished, with a Spring dress I had knitted for her last spring!


With her gorgeous little face, already filled with personality, (as they tend to be once you make them...) I set to work finishing her legs and making her arms...


Im really happy with her, but my gosh! I can tell that I haven't made one of Julie's creations for a while!

This little one has made me want to make another though...Mouse maybe this time?!
They are very, very addictive!

(And these are just some of them!)

That's all for now. Until next time, you take care now x

Sunday, 8 March 2015

My Sewing Room: A Transformation

What a few weeks it been!

I haven't really done much knitting at all. In fact, Ive be so preoccupied with our home improvements that by the time I get to sit down in the evening and whip out a WIP (see what i did there?!), im so tired, it a bit of telly and bed!

We are slowly trying to make our house a home.

So whilst the bigger projects are on hold until more time and money allow, i decided to concentrate on a little area just for me!

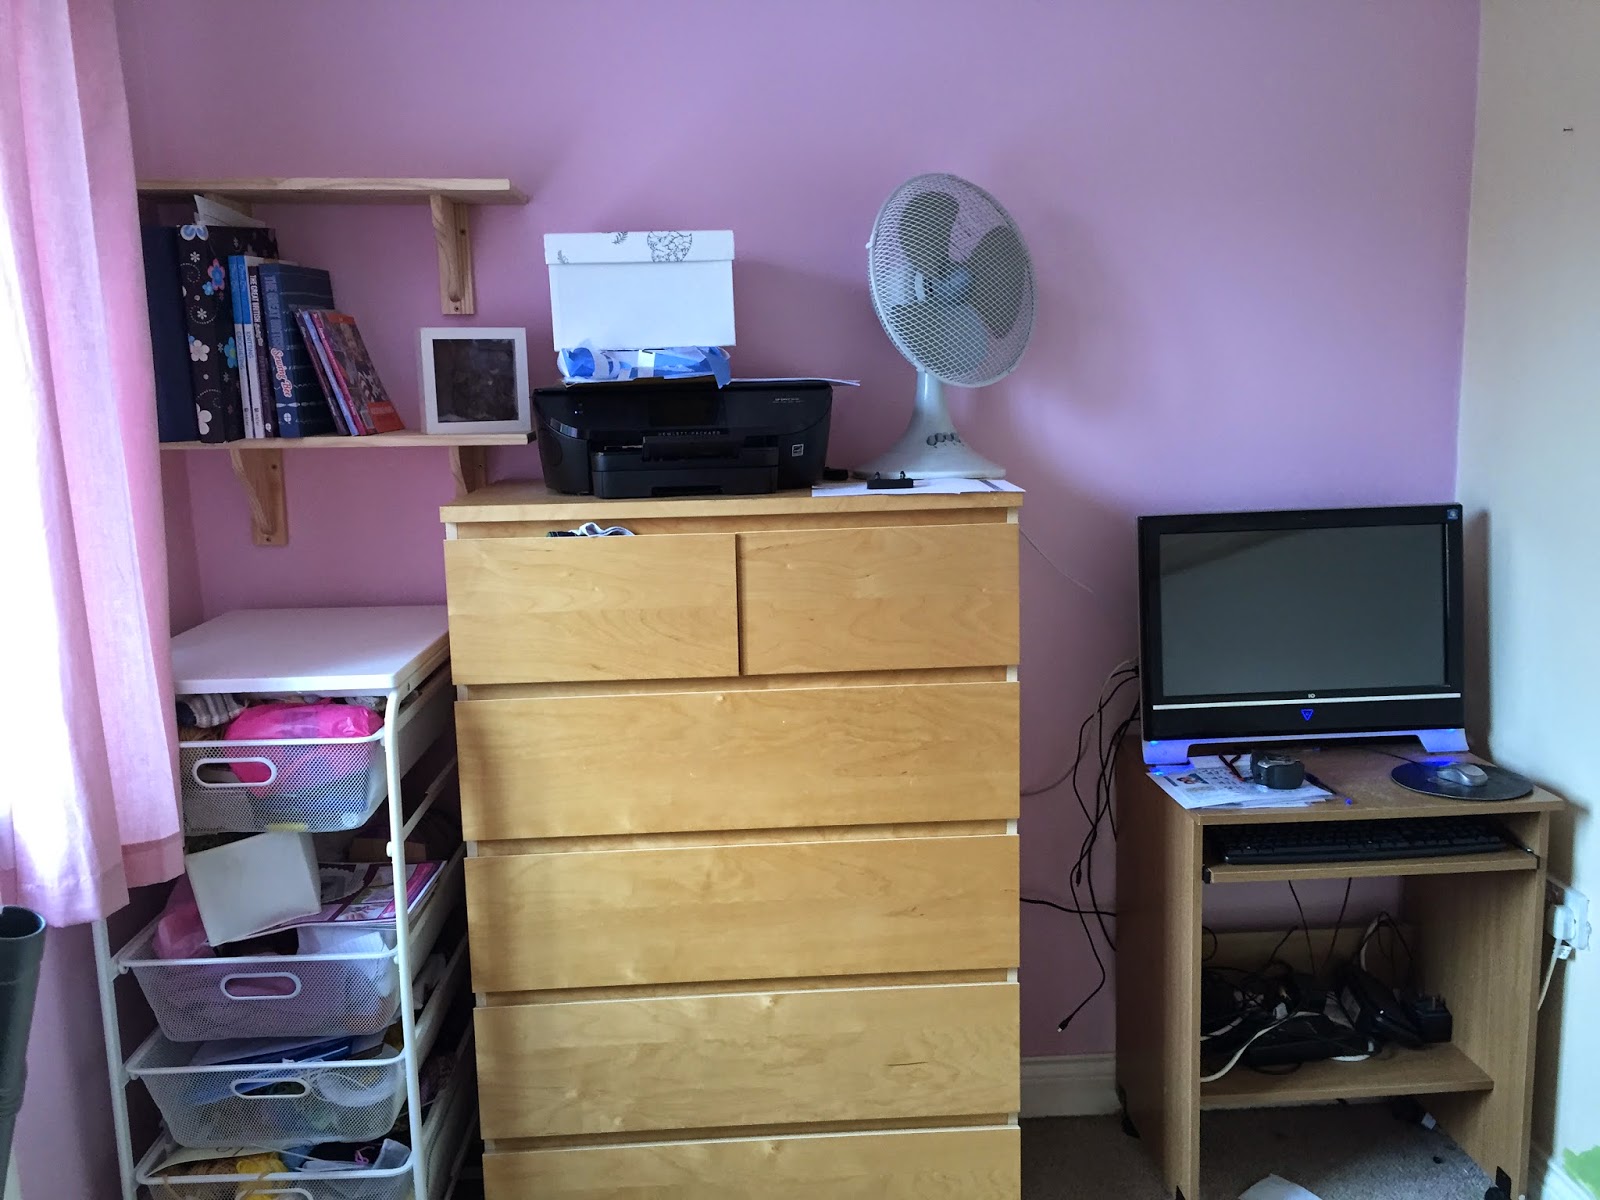
We have now moved both the children into the two biggest bedrooms, and that meant that the smallest room was now free...apart from some old and unused furniture and the computer.

What the room should become was a no-brainer. A sewing room!

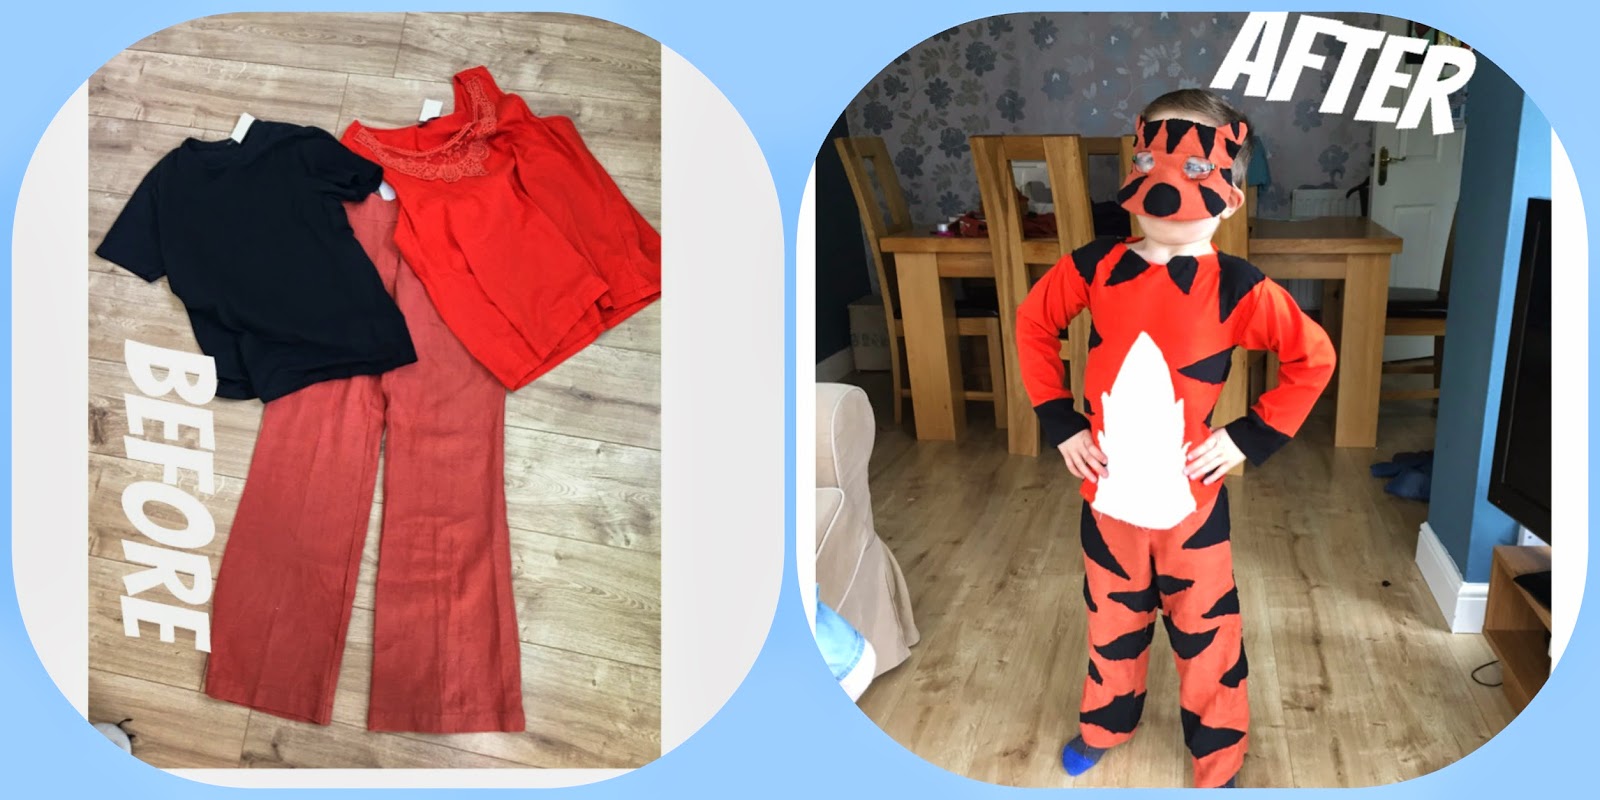
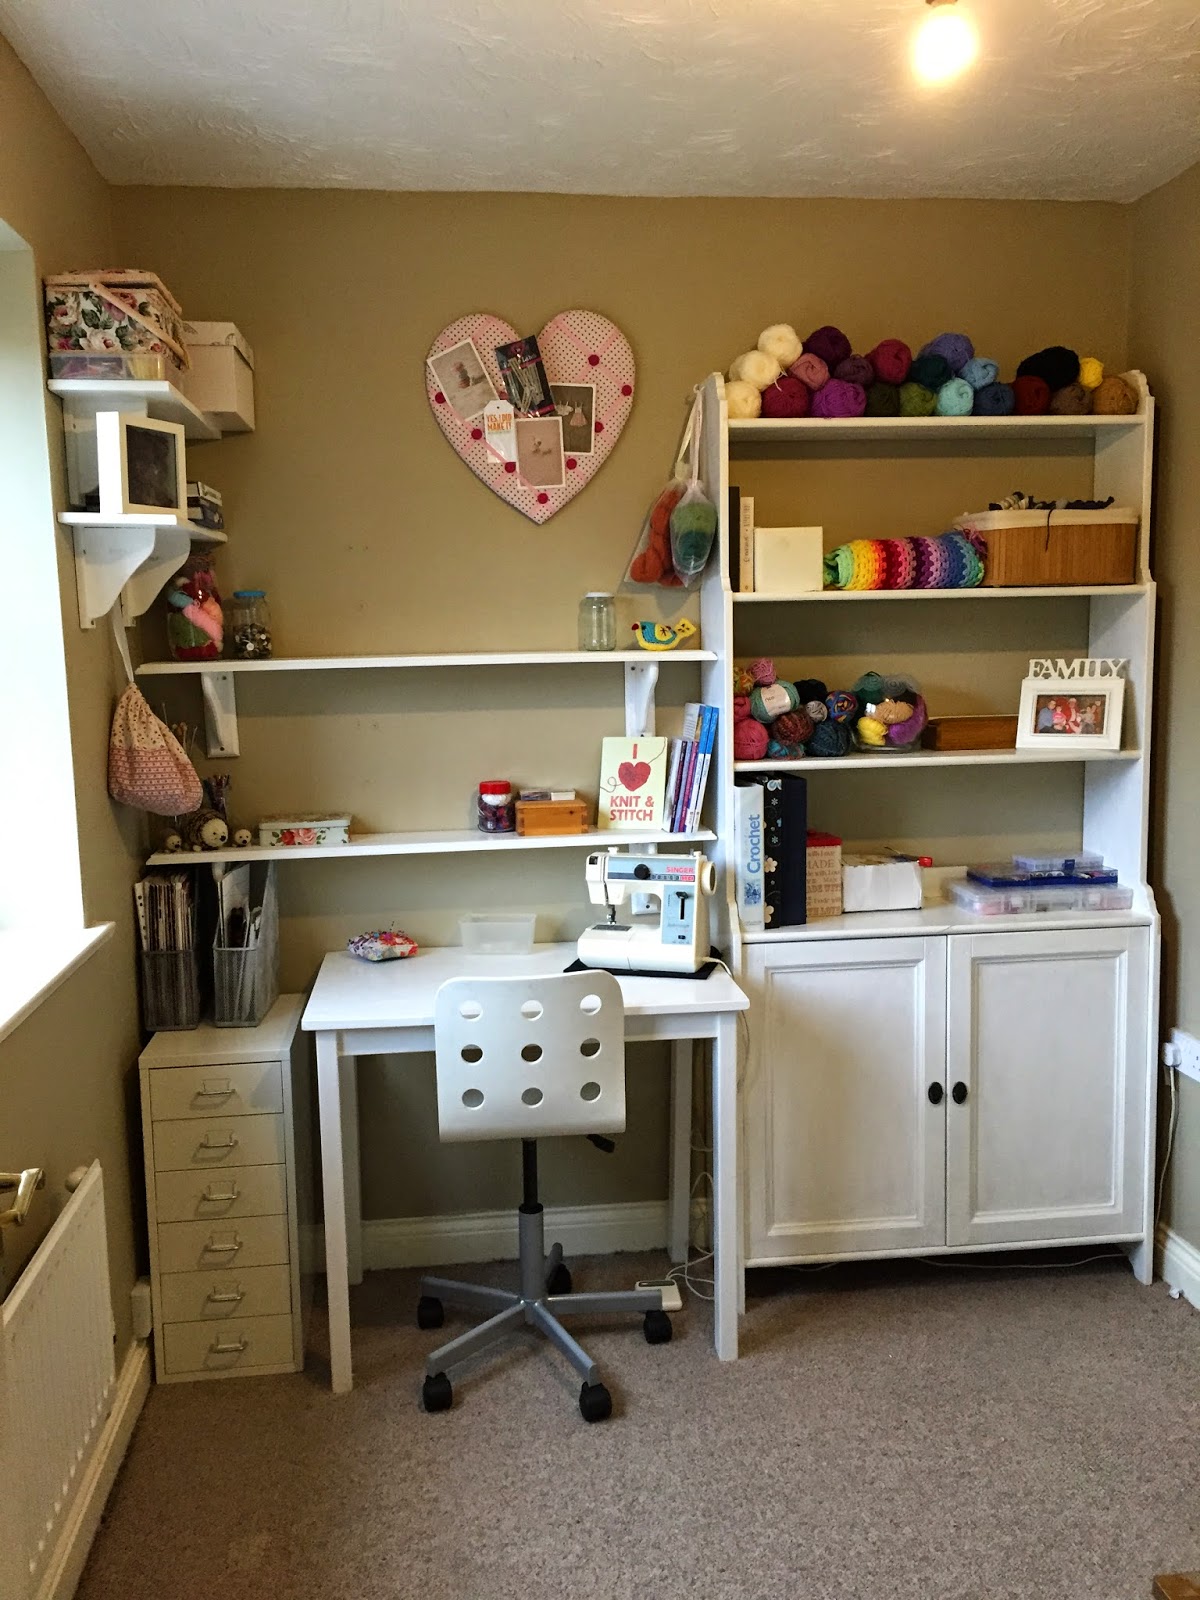
I blame "The Great British Sewing Bee" entirely for this! Also, the fact that i has to create an outfit for Little Man for World Book day last week. So after a trip to my local charity shop, this is what happened:


So! On to the transformation...
From this drab, pink, unused room...


To this....

Im so pleased with it!

Lets take a closer look shall we....


and one more:


Its still a work in progress of course, but I can see many happy hours here creating!

Thats all for now. Until next time, you take care now x

Saturday, 7 February 2015

Socking Happy!


This is sock themed!

My addiction to socks is continuing, and I'm so pleased to say my sock yarn collection is actually growing!

These are my latest finished socks, and I simply refer to them as "The 5th's".


A lovely simple vanilla sock in self striping yarn!

Im currently working on these colourful things:

They are called "Broken Seed Stitch" socks and you can find the free pattern by clicking on the name. They are a great way to use up a coloured yarn you might not be that happy with and give it a new lease of life with a solid colour. You can see loads of great examples on the project page from the link!

Several months ago, I posted about my immediate passion for some amazing Pumpkin Socks I had come across...you can read that blog post and see the pictures here....

Then finally, I had some yarn delivered that will be perfect for them:


And I really don't think I will be able to wait until this October to make them!

On top of all that, I have been enjoying a major "surf" on Ravelry, and have gathered quite a few favourite socks that I would love to work my way through...

Photo: Ravelry
I had some lovely sock yarn delivered the other day to make the Leaf socks that are on the second row there (Click on the name for the link).

Photos from Ravelry: Patty-Joy Wright and myself

Could be perfect for a Spring KAL?!
I've also been looking up suppliers of UK hand dyed sock yarn. My current favourite is The Knitting Goddess.

And her sock yarns are the dye (haha!) for!
Feast your eyes on this bundle of pure joy, which I ordered as soon as I laid my beady eyes on them:


It came in the most beautifully wrapped purple paper and the colours are beyond gorgeous. It is a wool and Nylon mix 4ply sock yarn and the colour name is "Flower Power". Now to decide on a pattern to do that colours justice....

Ah! So much yarn, so little time!!!

Thats all for now. Until next time, you take care now x